HEIC vs. JPG — How to Compress iPhone Photos Without Losing Quality
iPhone photos are stored as HEIC by default — a format most websites and apps don't accept. Here's how to convert and compress them without visible quality loss, right in your browser.
- heic
- jpg
- iphone
- image compression
- how-to
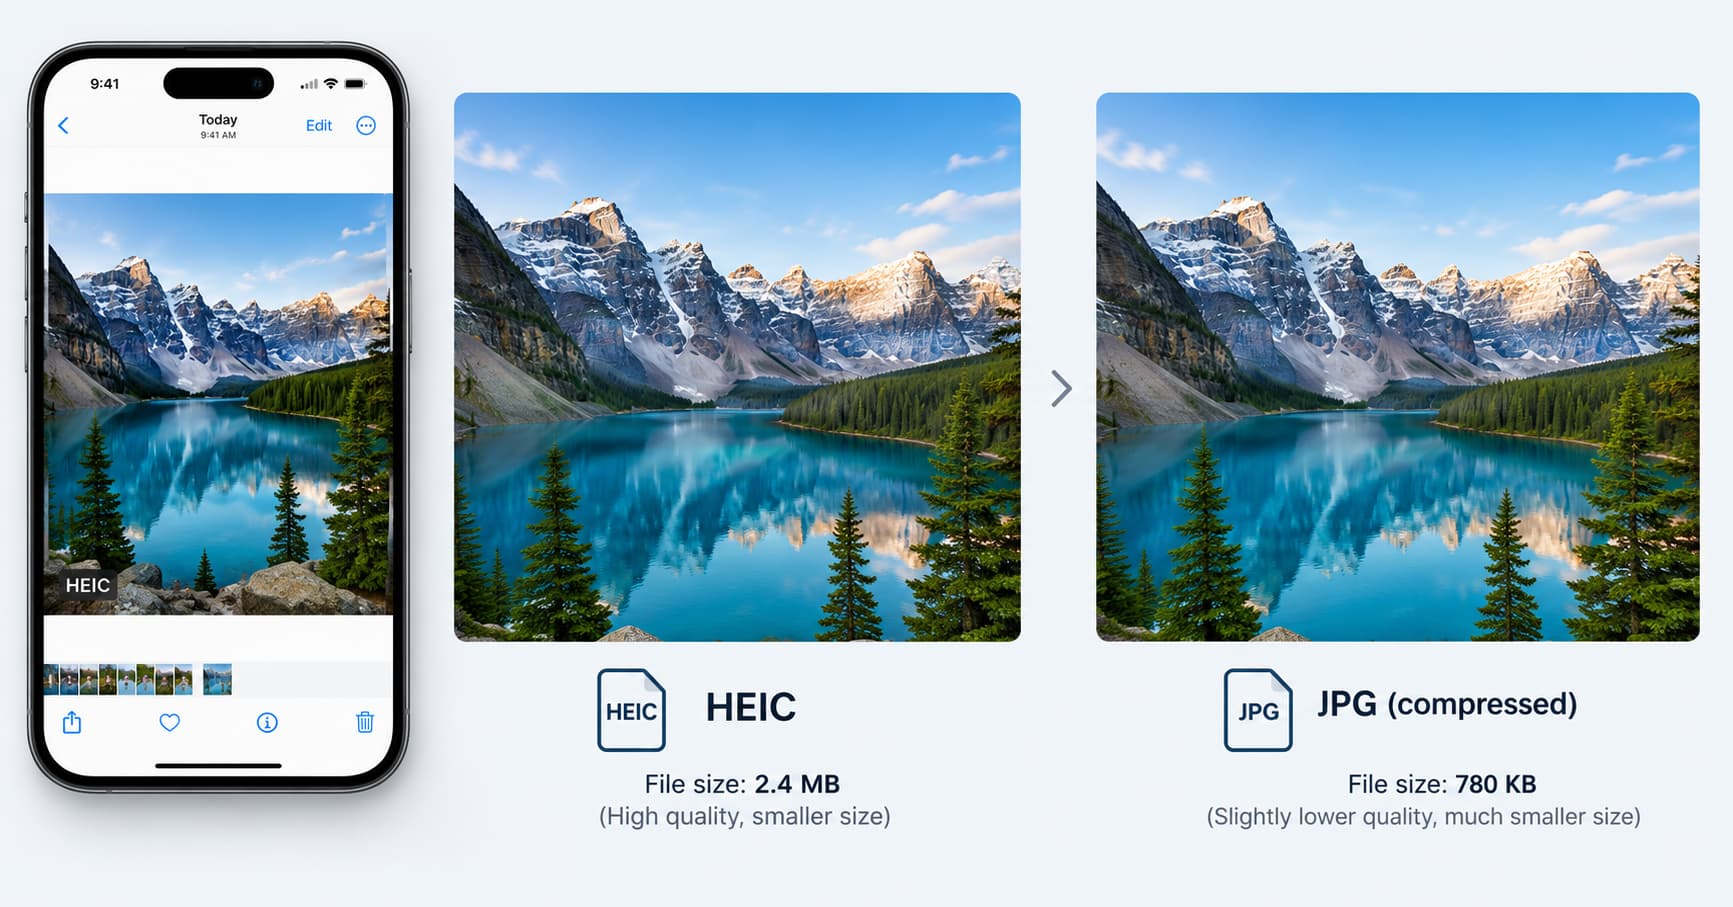
You take a photo on your iPhone. It looks great. Then you try to upload it to a website, send it to a friend on Android, or attach it to a job application — and it gets rejected. The file is a .HEIC, and most platforms still don't accept it.
Worse, iPhone photos are large. A single 12MP HEIC file can be 2–4 MB, and a 48MP ProRAW shot can hit 50 MB or more. Compressing them usually means uploading to a cloud tool — which is a problem when the photos are personal or private.
This guide explains what HEIC actually is, why it causes trouble, and how to compress and convert iPhone photos entirely in your browser without uploading anything.
What is HEIC, and why did Apple switch to it?
HEIC stands for High Efficiency Image Container. It's based on the HEVC (H.265) video codec, and Apple made it the default iPhone photo format starting with iOS 11 in 2017.
The reason is simple: HEIC files are roughly half the size of an equivalent JPG at the same visual quality. For a phone with limited storage, that's a huge win. A photo that would be 4 MB as a JPG is often only 2 MB as a HEIC.
The problem is compatibility. HEIC is an Apple-centric format. Windows needs a paid codec pack to open it. Many Android phones can't display it. Most website upload forms, email clients, and content management systems reject it outright.
| Format | Typical size (12MP photo) | Compatibility | Best for |
|---|---|---|---|
| HEIC | 1.5–2.5 MB | Apple ecosystem only | Storing photos on iPhone |
| JPG | 3–5 MB | Universal | Sharing, uploading, printing |
| PNG | 8–15 MB | Universal | Screenshots, graphics with text |
Why you shouldn't just "compress harder"
Most online compressors work by throwing away quality aggressively. They shrink the file, but the result looks soft, blocky, or washed out — especially in skies, skin tones, and dark areas where JPG compression artifacts are most visible.
A better approach is to convert HEIC to JPG first, then compress with controlled settings. This gives you:
- A universally compatible file
- Predictable quality (you choose the level)
- No unnecessary detail loss
The key is doing this without a cloud upload, because HEIC files often contain location data, timestamps, and device identifiers in their metadata. Uploading them to a random free converter is a privacy risk.
How to compress iPhone photos in your browser
Step 1: Move the photos to your computer (or use your phone's browser)
You can use the image compressor directly on your iPhone in Safari or Chrome. No app install, no account, no upload.
If you're on a desktop, AirDrop or a USB cable works fine. Just avoid emailing the originals — most mail servers strip or block HEIC attachments.
Step 2: Drop the HEIC files into the tool
Open the HEIC to JPG converter and drop in your photos. Batch processing means you can convert 20 or 200 at once.
Step 3: Choose your quality level
This is where most people go wrong. Here's a practical guide:
| Quality setting | File size (approx.) | When to use |
|---|---|---|
| 90–100% | 3–5 MB | Printing, professional portfolios |
| 75–85% | 1–2 MB | Web uploads, social media, email |
| 50–70% | 400 KB–1 MB | Thumbnails, quick previews, forms with strict limits |
| Below 50% | Under 400 KB | Avoid unless absolutely necessary |
For most people, 80% is the sweet spot. The file shrinks dramatically, but the difference is invisible on a phone screen or a typical laptop display.
Step 4: Resize if you don't need full resolution
A 48MP iPhone photo is often 8000 pixels wide. Almost no website, email, or social platform needs that. Resizing to 2000 pixels wide before compressing can cut the file size by another 60–70% with no visible difference at normal viewing sizes.
Use the image resizer after conversion if you're uploading to a website, blog, or marketplace listing.
Step 5: Download and verify
Download the compressed JPGs. Open one and zoom in on a detailed area — a face, text, or foliage. If it still looks sharp at 100% zoom, you've compressed correctly.
Common mistakes to avoid
- Compressing the HEIC file directly. Most tools that claim to do this actually convert to JPG first anyway — but some produce worse results than doing it in two clean steps.
- Using "extreme compression" presets. These are designed for thumbnails, not for photos you care about.
- Forgetting about metadata. Even after conversion, JPG files can retain EXIF data. If privacy matters, strip it — or use a tool that does it automatically.
- Compressing the same file twice. Each compression pass loses a little quality. Always start from the original HEIC.
When to keep the HEIC original
Don't delete your original HEIC files. They're your archive copy — the highest-quality version of the photo. Compressed JPGs are for sharing and uploading. Keep the HEIC files in your Photos app or a backup drive.
The bottom line
HEIC is a good storage format and a bad sharing format. The fix is straightforward: convert to JPG, resize if needed, and compress at around 80% quality — all without uploading your photos anywhere.
If you're doing this in bulk, the image compressor handles batches and keeps everything on your device. No account, no upload, no waiting for a server.