How to Reduce JPEG File Size to Under 100KB for Online Job Portals
Government job portals, visa forms, and university applications often cap photo uploads at 100KB or less. Here's how to shrink a JPEG without making it look blurry — entirely in your browser.
- jpeg
- image compression
- job application
- how-to
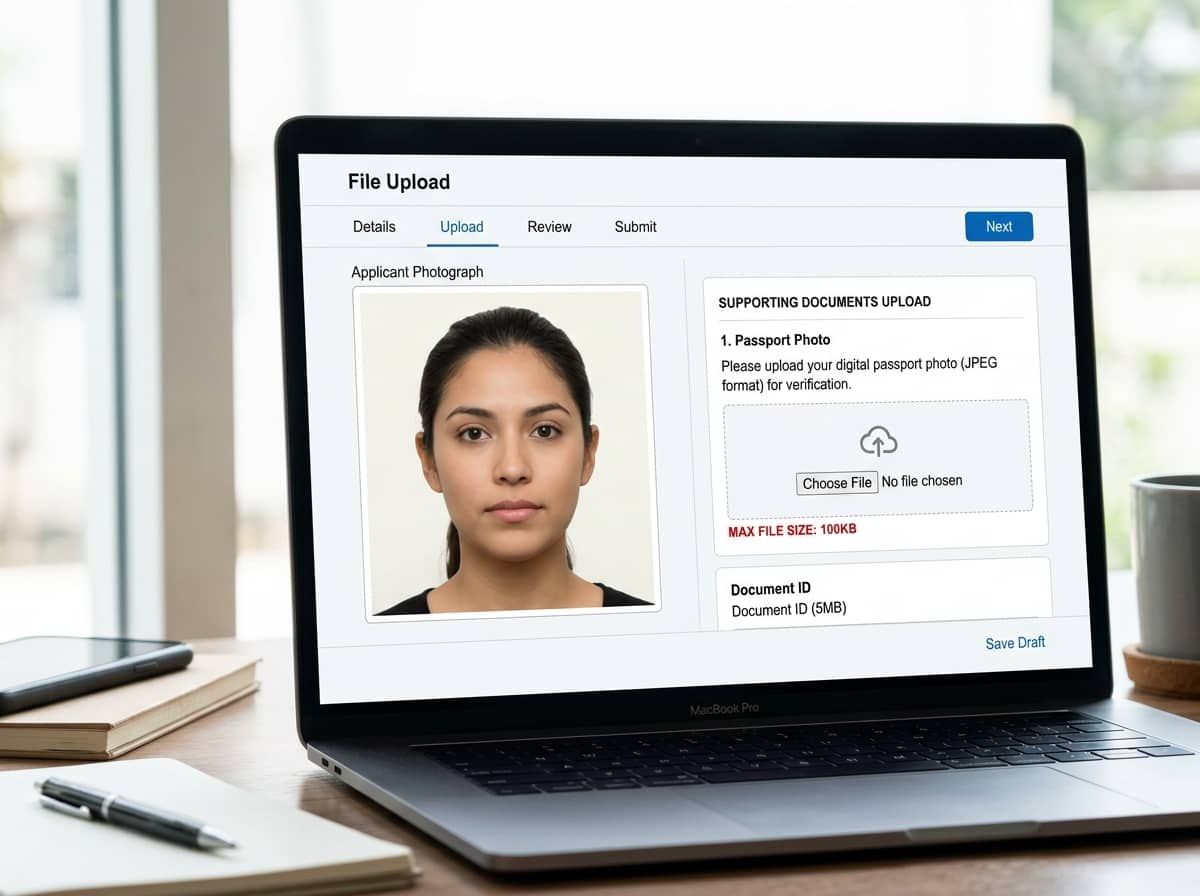
You've filled out the entire application. Uploaded your resume. Then you reach the photo field — and it says "Maximum file size: 100KB". Your phone photo is 4.2 MB. The form rejects it.
This is one of the most common frustrations on government job portals, visa applications, university admission forms, and exam registration sites. The limit is often 50KB, 100KB, or 200KB — far smaller than any modern phone camera produces by default.
Most people try a random online compressor, get a blurry result, and give up. This guide shows you how to hit that 100KB target without destroying the photo — and without uploading your ID photo to a stranger's server.
Why job portals enforce such small limits
It's not arbitrary. Government and institutional portals often:
- Store millions of applications on limited server infrastructure
- Serve low-bandwidth users in rural areas where large images time out
- Process photos through automated systems (face detection, OCR) that work fine at low resolution
- Have legacy systems built a decade ago when 100KB was a normal photo size
The limit is a constraint on their side, not a reflection of what quality they need. A well-compressed 100KB JPEG is more than enough for identification purposes.
What actually makes a JPEG file large
Three factors control JPEG file size:
| Factor | Impact on size | Impact on quality |
|---|---|---|
| Dimensions (pixels) | Huge — doubling width quadruples file size | Visible if too small |
| Compression quality (0–100%) | Large — dropping from 95% to 70% can cut size by 70% | Subtle until you go below ~60% |
| Metadata (EXIF, GPS, thumbnails) | Small — usually 10–50KB | None — pure waste |
The mistake most people make is only touching the quality slider. If your photo is 4000 pixels wide, no amount of compression will get it under 100KB without making it look terrible. You need to resize first, then compress.
The right order of operations
Step 1: Crop to the required aspect ratio
Most portals specify a photo shape — passport (35x45mm), square (1:1), or 2x2 inches. If your photo doesn't match, you'll either get rejected or the system will crop it badly.
Use the crop image tool to set the correct ratio before doing anything else. Cropping also removes unnecessary background, which reduces file size.
Step 2: Resize to the right pixel dimensions
This is the step most people skip, and it's the most important one.
| Use case | Recommended dimensions |
|---|---|
| Passport / visa photo | 600 × 600 px or 413 × 531 px |
| Job portal profile photo | 500 × 500 px |
| Signature upload | 300 × 100 px |
| General ID photo | 800 px on the longest side |
A 4000px photo resized to 800px becomes 25x smaller in pixel count — before any compression is applied. That alone often brings a 4MB file down to 200–400KB.
Use the image resizer to set exact dimensions. Keep the aspect ratio locked so the photo doesn't stretch.
Step 3: Compress at the right quality level
Now compress. With the image already resized, you have room to keep quality high:
| Target size | Quality setting (after resizing) |
|---|---|
| Under 200KB | 80–85% |
| Under 100KB | 70–80% |
| Under 50KB | 60–70% |
| Under 20KB | 50–60% (expect visible softness) |
Open the image compressor and drop in your resized photo. Set quality to 75% as a starting point and check the output size. Adjust up or down by 5% until you're just under the limit.
Step 4: Strip the metadata
Phone photos carry EXIF data: GPS coordinates, device model, timestamp, and sometimes a thumbnail of the original image. This can add 20–50KB — and it's a privacy risk when uploading to a portal.
A good compressor removes this automatically. If yours doesn't, check the output file's properties — if you see location data, use a different tool.
Step 5: Verify before uploading
Two checks before you hit submit:
- File size — right-click the file and check properties. Make sure it's under the limit, not exactly at it (leave 5–10KB of headroom in case the portal calculates differently).
- Visual quality — open the photo at 100% zoom. Check that your face is sharp, text on any documents is readable, and there's no blocky artifacting around edges.
Common mistakes that get applications rejected
- Uploading a PNG or HEIC renamed to .jpg. Portals check the actual file format. Convert properly.
- Compressing the same file repeatedly. Each pass degrades quality. Always start from the original.
- Using a screenshot of a photo. Screenshots lose detail and often have the wrong dimensions.
- Ignoring the minimum dimensions. A 100KB file at 150x150 pixels will fail even if the size is correct.
- Leaving GPS data in. Some government portals flag this as a security issue.
What if the portal still rejects it?
If your file is under 100KB and the right dimensions but still gets rejected, the problem is usually one of these:
- Wrong format — some portals only accept
.jpg, not.jpeg - Wrong color space — rare, but some systems require sRGB
- File name issues — avoid spaces and special characters
- Browser cache — try a different browser or incognito mode
The bottom line
Getting a JPEG under 100KB isn't about aggressive compression. It's about resizing first, then compressing at a reasonable quality. A 600x600 photo at 75% quality will comfortably land under 100KB and still look sharp enough for any ID or profile requirement.
The image compressor and image resizer handle both steps locally in your browser — no upload, no account, and no risk of your passport photo sitting on someone else's server.