How to Email Large Photos by Reducing Image Size First
Email providers cap attachments at 20–25 MB, and most phone photos blow past that instantly. Here's how to shrink photos for email without making them look terrible — entirely in your browser.
- image compression
- photo sharing
- how-to
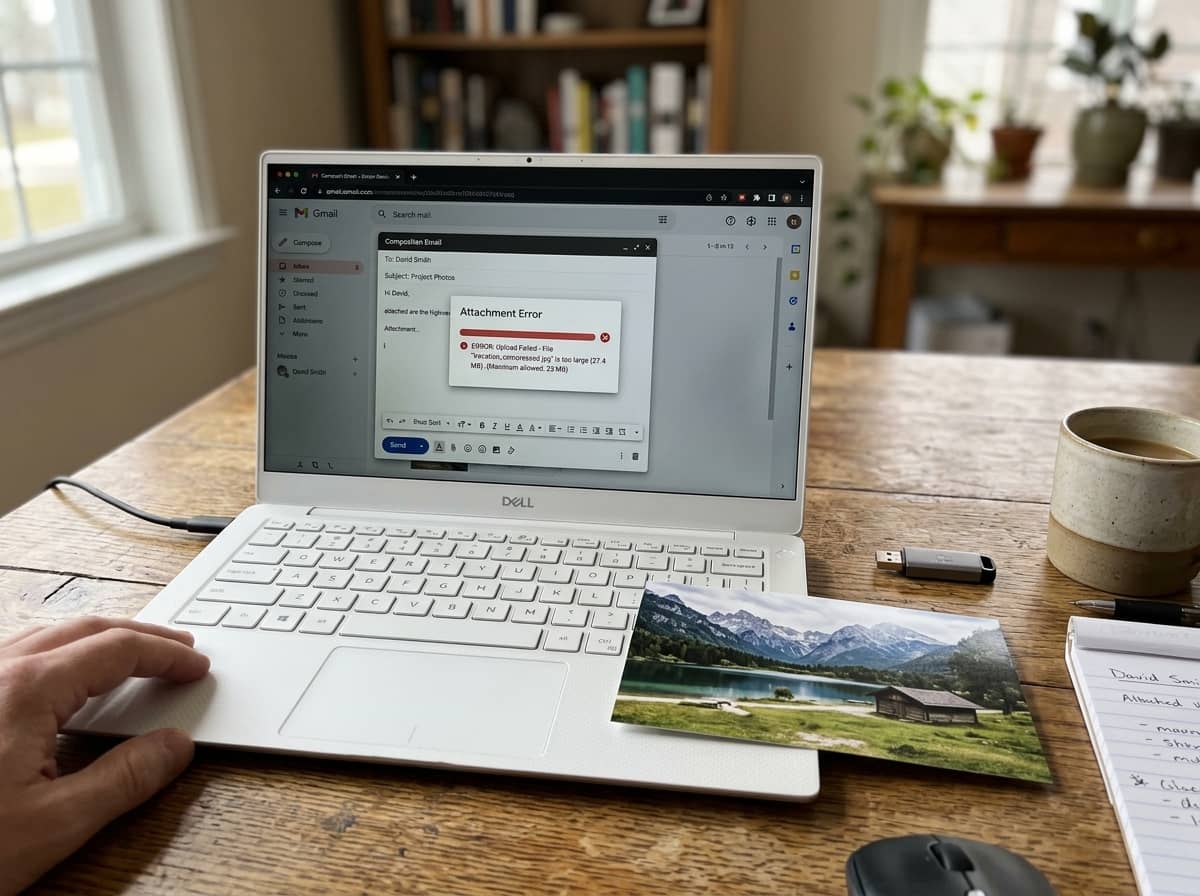
You've written the email. Attached five photos from the event. Hit send — and got the error: "Attachment exceeds maximum size."
Or worse, the email sends but the recipient replies: "I only got two of the photos."
Email was never designed for large image files. Gmail caps attachments at 25 MB total. Outlook.com caps at 20 MB. Yahoo Mail caps at 25 MB. If you're sending from a corporate account, it could be 10 MB or less. A single modern phone photo can be 4–8 MB — and five of them will always fail.
The fix is reducing image size before you attach. Here's how to do it without degrading the photos into blurry messes — and without uploading your private images to a random compression website.
Why email chokes on phone photos
Three things changed over the last decade that made email attachments break:
1. Phone cameras got much better. A 12MP iPhone photo is 3–5 MB. A 48MP photo is 8–15 MB. A single photo now exceeds what five photos used to weigh.
2. Email attachment limits didn't move. The 25 MB Gmail limit has been in place for years. It's not going up — email providers actively discourage large attachments.
3. Encoding overhead. Email attachments are encoded in base64, which adds roughly 33% to the file size during transmission. A 20 MB photo becomes ~27 MB on the wire — which fails the 25 MB Gmail limit before the recipient even sees it.
| Provider | Attachment limit |
|---|---|
| Gmail | 25 MB total |
| Outlook.com | 20 MB total |
| Yahoo Mail | 25 MB total |
| Apple iCloud Mail | 20 MB total |
| Corporate (typical) | 10 MB or less |
The practical target: keep the total email under 15 MB to safely clear every provider, including corporate accounts.
What "reduce image size" actually means
There are three levers, and most people only touch one:
| Lever | Effect on file size | Effect on appearance |
|---|---|---|
| Dimensions (pixels) | Massive — halving width cuts size by ~75% | Visible only if too small |
| Compression quality | Large — 90% to 70% can cut size by 60% | Subtle until ~60% |
| Metadata (EXIF) | Small — usually 10–50 KB per photo | None — pure waste |
The mistake is only lowering quality. If your photo is 4000 pixels wide, no quality setting will get it small enough without making it look bad. Resize first, then compress.
The target dimensions for email
Email doesn't need full resolution. Screens display at most 1920 pixels wide, and most people read email on phones with even smaller screens.
| Use case | Target dimensions | Typical file size after compression |
|---|---|---|
| Casual sharing | 1200 px longest side | 150–300 KB |
| Photo review / proofs | 1600 px longest side | 300–500 KB |
| Printing or archiving | 2400 px longest side | 600 KB–1 MB |
For most email, 1200–1600 pixels on the longest side is the sweet spot. The photos look sharp on any screen, and five of them total under 2 MB.
How to reduce photo size for email
Step 1: Pick the photos you actually want to send
Don't attach 30 photos because it's easier than choosing. Recipients rarely look at more than five. Pick the best ones, and the file size problem solves itself.
Step 2: Resize the batch
Open the image resizer and drop in your selected photos. Set the longest side to 1600 pixels. Keep the aspect ratio locked so nothing gets stretched.
For a batch of photos with mixed orientations, the tool should handle portrait and landscape automatically by applying the limit to the longer edge.
Step 3: Compress at 75–80% quality
After resizing, run the batch through the image compressor at 75–80% quality. At this level:
- Skin tones stay smooth
- Text and detail remain readable
- File size drops dramatically
- Artifacting is invisible on any screen
A 1600px photo at 78% quality typically lands at 200–400 KB.
Step 4: Strip metadata
Your phone embeds GPS coordinates, device model, and timestamp in every photo. This metadata:
- Adds 10–50 KB per photo
- Reveals where the photo was taken
- Can be a privacy issue when emailing to strangers or posting publicly
A good browser-based compressor removes EXIF data automatically. Check the output file's properties — if you see location data, use a different tool.
Step 5: Check the total size before attaching
Add up your compressed photos. For five photos at 300 KB each, you're at 1.5 MB — comfortably under every email provider's limit. Attach, send, done.
Common mistakes to avoid
- Using "actual size" in your email client. Some clients have a "send as original" option that bypasses compression. Turn it off.
- Zipping photos instead of compressing them. A ZIP of JPEGs barely shrinks — JPEGs are already compressed. You need to re-encode the images.
- Sharing via Google Drive or Dropbox links. This works, but it's friction for the recipient. They have to click, sometimes sign in, and download. For small batches, proper image compression is faster for everyone.
- Compressing the same file repeatedly. Each pass loses quality. Always start from the original.
- Forgetting about the recipient's email client. Some corporate systems strip attachments over 5 MB entirely. When in doubt, go smaller.
When to use a different sharing method
If you genuinely need to send full-resolution photos — for printing, professional review, or legal purposes — email is the wrong tool. Options:
| Method | Best for | Limit |
|---|---|---|
| Cloud link (Drive, Dropbox) | Full-res batches | Storage quota |
| WeTransfer | One-off large sends | 2 GB free |
| iCloud Photos link | Apple users | 5 GB free |
| FTP / NAS link | Technical users | Your storage |
For everything else — sharing vacation photos, sending proofs, emailing documents — compression is the right answer.
The bottom line
Email wasn't built for modern phone photos. The fix is straightforward: resize to 1200–1600 pixels, compress at 75–80% quality, and strip metadata. Five photos will fit comfortably in a single email, and they'll look sharp on any screen.
The image resizer and image compressor handle both steps locally in your browser — no upload, no account, and no risk of your private photos sitting on someone else's server.